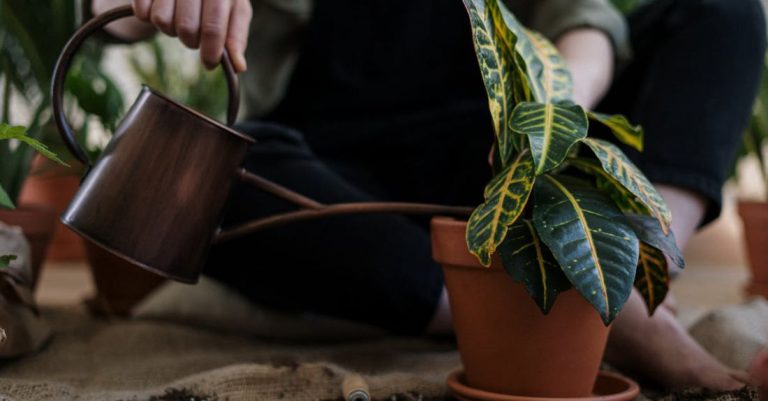
**How to Set up an Automated Watering System**
Maintaining a consistent watering schedule for your plants can be a challenging task, especially if you have a busy lifestyle. An automated watering system can be a game-changer, ensuring your plants receive the right amount of water at the right time without you having to lift a finger. Setting up an automated watering system may seem daunting at first, but with the right tools and guidance, you can easily create a system that works efficiently for your indoor or outdoor garden.
**Assess Your Watering Needs**
Before diving into setting up an automated watering system, it’s essential to assess the specific watering needs of your plants. Different plants require varying amounts of water, so understanding the moisture requirements of each type of plant in your garden is crucial. Consider factors such as the type of soil, sun exposure, and the size of the plants when determining the watering frequency and duration.
**Choose the Right System**
There are various types of automated watering systems available in the market, ranging from simple drip irrigation systems to advanced programmable systems with timers and sensors. Choose a system that best suits your needs and budget. Drip irrigation systems are ideal for potted plants, while soaker hoses work well for garden beds. If you have a large garden with different types of plants, a programmable system with customizable settings may be the best option.
**Gather the Necessary Supplies**
Once you have chosen the right automated watering system for your garden, gather all the necessary supplies before starting the installation process. You will need hoses, connectors, emitters, timers (if applicable), and a water source. Make sure to measure the distance between the water source and the plants to determine the length of hoses needed.
**Install the System**
Begin by connecting the hoses to the water source, ensuring a secure fit to prevent any leaks. Lay the hoses along the plants, making sure to position the emitters or nozzles close to the base of each plant. If you are using a programmable system, follow the manufacturer’s instructions to set up the timer and customize the watering schedule according to your plant’s needs.
**Test the System**
After installing the automated watering system, it’s crucial to test it to ensure that it is working correctly. Turn on the water source and observe the water flow through the hoses and emitters. Check for any leaks or clogs and make adjustments as needed. Monitor the watering schedule over a few days to see if the plants are receiving enough water without being overwatered.
**Fine-Tune the System**
As you continue to use the automated watering system, pay attention to how your plants respond to the watering schedule. Fine-tune the system by adjusting the frequency and duration of watering based on the changing needs of the plants. During hot weather, plants may require more frequent watering, while during the rainy season, you may need to reduce the watering schedule.
**Maintain the System**
Regular maintenance is essential to ensure the longevity and efficiency of your automated watering system. Check the hoses and connectors for any signs of wear and tear, and replace them if necessary. Clean the emitters or nozzles regularly to prevent clogs and ensure proper water distribution to the plants. Inspect the system periodically to make sure everything is functioning correctly.
**Keep Your Plants Happy and Healthy**
An automated watering system can be a valuable tool in keeping your plants happy and healthy, especially when you have a busy schedule or are away from home frequently. By setting up a system that meets the specific watering needs of your plants, you can enjoy a thriving garden with minimal effort. With the right system in place and regular maintenance, you can sit back and relax knowing that your plants are being well taken care of.


